Bill's Dymstock Light Railway Layout
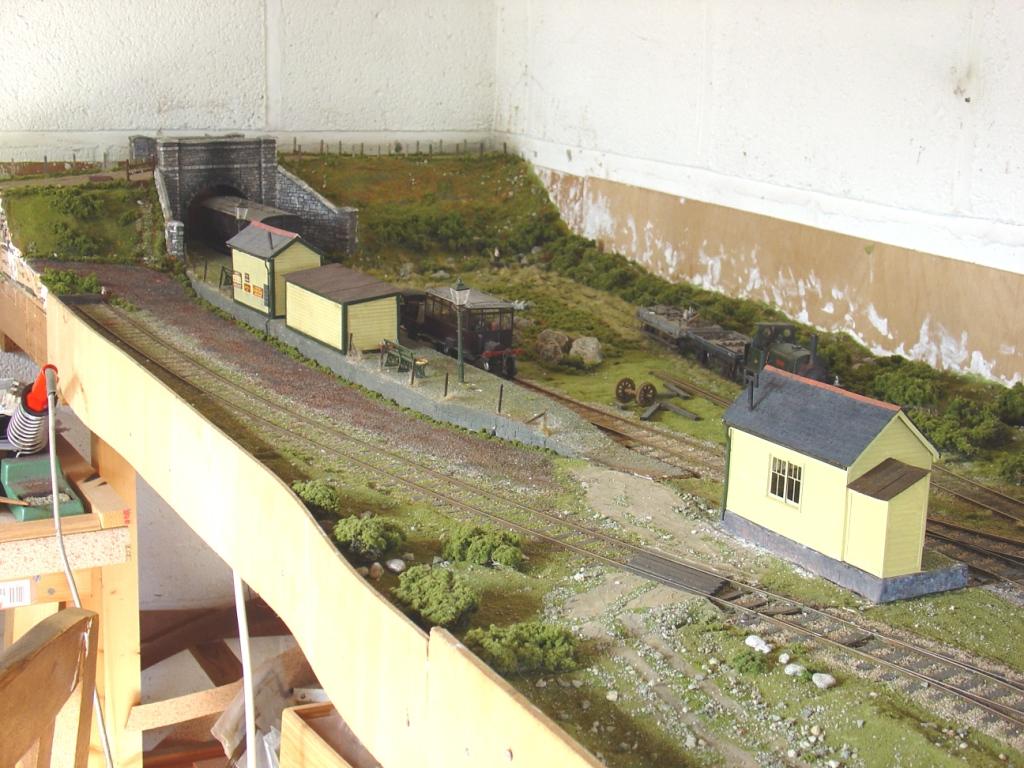
These are photos of my now defunct light railway, allegedly set on Dartmoor, and built around 3 sides of a standard garage. Sadly I seem to have lost the photos of one side of the layout which included a turntable (modified from a 40 year old Atlas N gauge turntable rescued from a previous incarnation!) and an engine shed. I should say at this stage that I’m from the impressionist side of modelling rather than one of the highly detailed brigade. Been there and had to give the T-shirt back!
I settled on the name ‘Dymstock’ from a west country radio soap opera, ‘At The Luscombes’, broadcast from Plymouth in the early 50s. A sort of precursor to the Archers. I confidently assumed that no-one else would remember the series but I’ve recently come across 3 other people who remember it fondly. One was kind enough to download a copy of the cast list from the web from which I realised the name of the village it was based on was actually spelt ‘Dimstock’. Almost certainly a clever play on words to describe the characters! Spelt either way it sounds proper westcountry!
The first couple of lengths of track I made consisted of plywood sleepers with rivets knocked flush with the top of the sleepers and soldered to code 100 f/b rail. I also added cosmetic spikes. This proved to be rather time consuming and I quickly switched to straightforward soldered pcb construction. Without sticking your nose about a couple of inches from the track it was almost impossible to spot the difference. Points were built in situ and varied in radii between 3’6” and 5’.
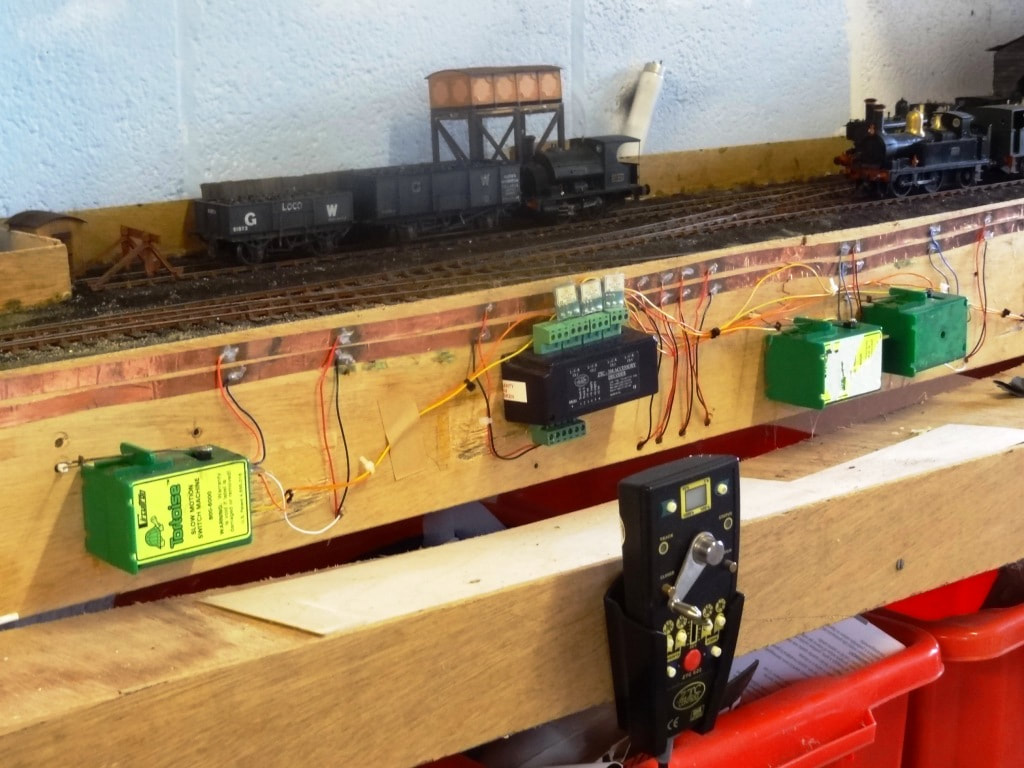
The baseboards were built traditionally of 3” x 1” on the photographed side of the layout but on 2” thick sheets of Styrofoam on the other. These were very light and I wouldn’t go back to using the ‘old traditional style’ baseboards now. Being 2” thick required some thought as to how the Tortoise point motors could be mounted, and I settled on fixing them on a front facia board. I also ran an electrical ‘busbar’ along the fascia and as a result there were no electrical connections of any sort actually under the boards. Clambering around under baseboards thankfully became a thing of the past! A photo of the new under construction shunting plank layout (actually there won’t be much shunting so it’s just a glorified plank!) is included which illustrates the point; literally!. There will eventually be a cover to hide all the motors and other electrical gubbins.
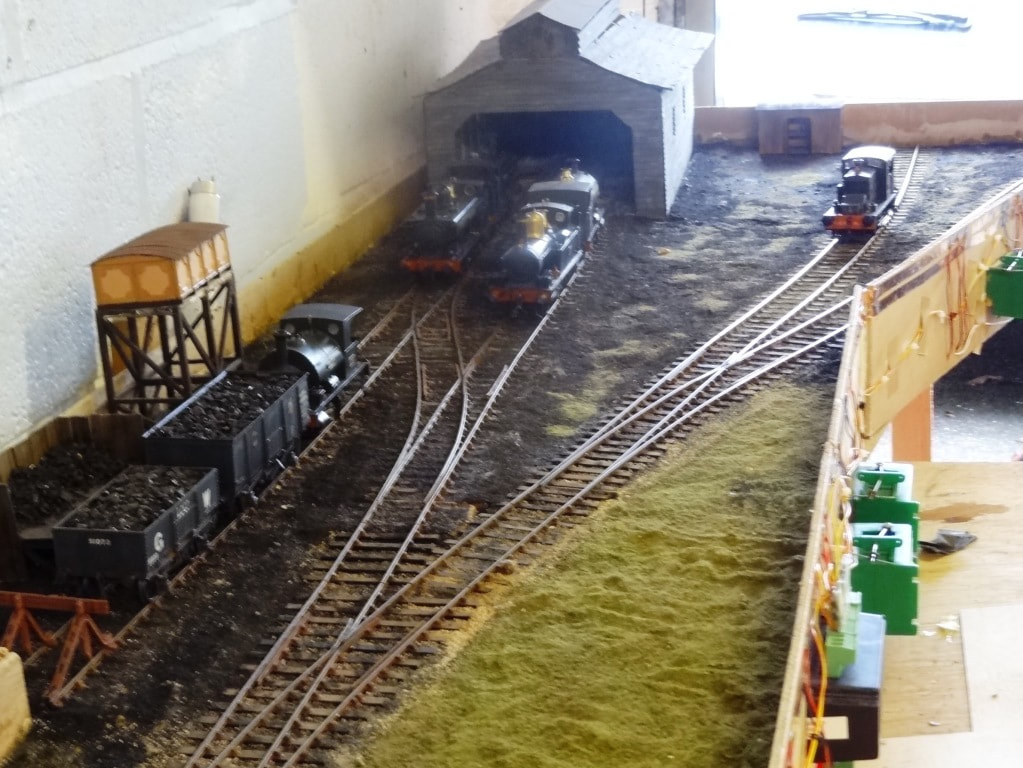
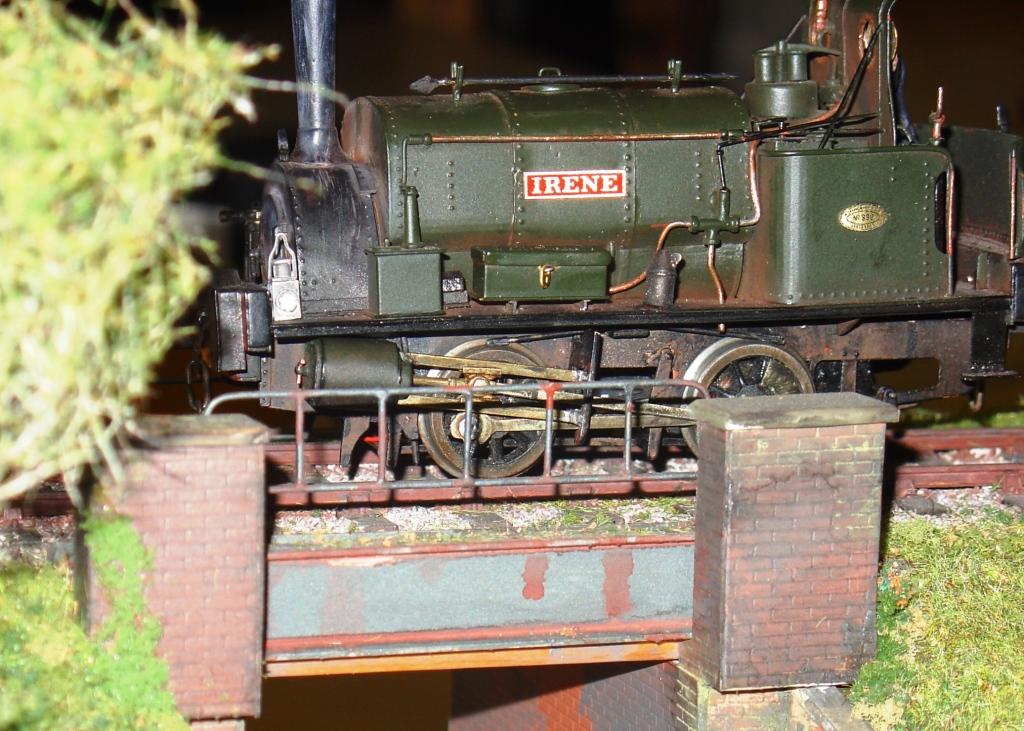
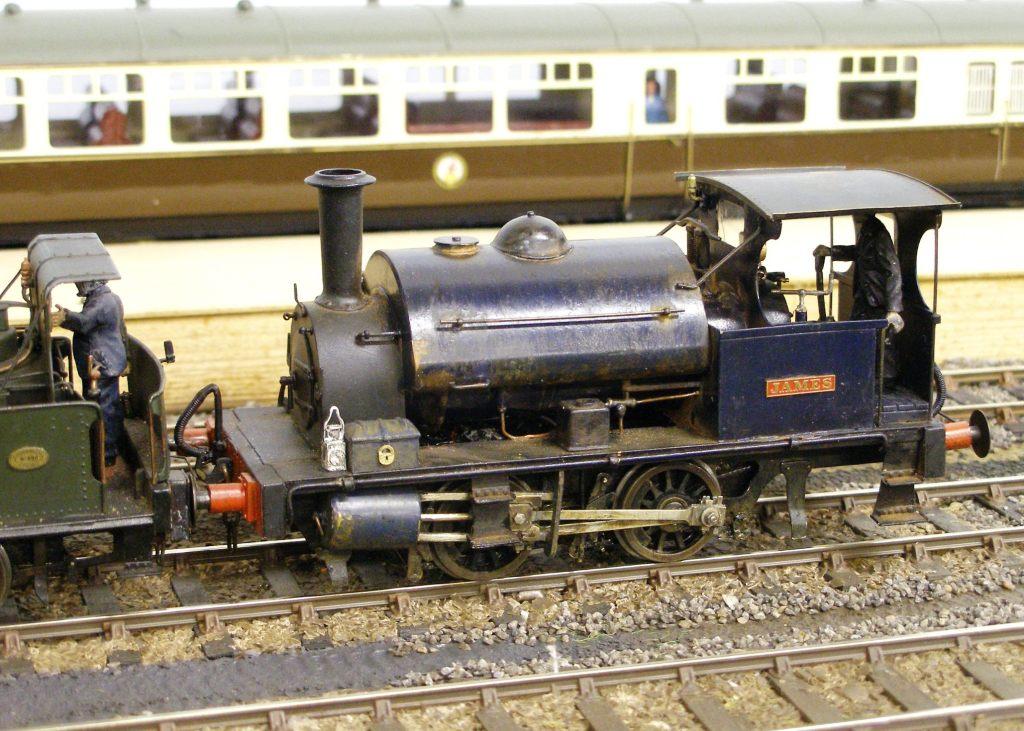
The 5 locos were all Agenoria plus a Branchlines Ford railbus which ran coupled to a Commercial Models model T Ford lorry, modified to run on rails obviously! I opted for DCC on the basis that reliable electrical pick up, essential with small tank locos, would be enhanced by having 16 volts going through the track at all times. This proved to be an optimistic assumption. DCC decoders are extremely sensitive to the tiniest break in electrical continuity and very effective pickups are an absolute must.
Rolling stock was very limited, and included two Slaters GWR 4 wheel coaches and assorted wagons.
I guess the layout was about 70% - 80% complete when it met its end, and hereby lies an important lesson. It had taken me about 10 years to create, and about 10 minutes to realise that I had no interest in operating a small point to point layout – or probably any layout! The moral of this story is: ‘be very sure you know what you want to achieve from your modelling before you start’!
I settled on the name ‘Dymstock’ from a west country radio soap opera, ‘At The Luscombes’, broadcast from Plymouth in the early 50s. A sort of precursor to the Archers. I confidently assumed that no-one else would remember the series but I’ve recently come across 3 other people who remember it fondly. One was kind enough to download a copy of the cast list from the web from which I realised the name of the village it was based on was actually spelt ‘Dimstock’. Almost certainly a clever play on words to describe the characters! Spelt either way it sounds proper westcountry!
The first couple of lengths of track I made consisted of plywood sleepers with rivets knocked flush with the top of the sleepers and soldered to code 100 f/b rail. I also added cosmetic spikes. This proved to be rather time consuming and I quickly switched to straightforward soldered pcb construction. Without sticking your nose about a couple of inches from the track it was almost impossible to spot the difference. Points were built in situ and varied in radii between 3’6” and 5’.
The baseboards were built traditionally of 3” x 1” on the photographed side of the layout but on 2” thick sheets of Styrofoam on the other. These were very light and I wouldn’t go back to using the ‘old traditional style’ baseboards now. Being 2” thick required some thought as to how the Tortoise point motors could be mounted, and I settled on fixing them on a front facia board. I also ran an electrical ‘busbar’ along the fascia and as a result there were no electrical connections of any sort actually under the boards. Clambering around under baseboards thankfully became a thing of the past! A photo of the new under construction shunting plank layout (actually there won’t be much shunting so it’s just a glorified plank!) is included which illustrates the point; literally!. There will eventually be a cover to hide all the motors and other electrical gubbins.
The 5 locos were all Agenoria plus a Branchlines Ford railbus which ran coupled to a Commercial Models model T Ford lorry, modified to run on rails obviously! I opted for DCC on the basis that reliable electrical pick up, essential with small tank locos, would be enhanced by having 16 volts going through the track at all times. This proved to be an optimistic assumption. DCC decoders are extremely sensitive to the tiniest break in electrical continuity and very effective pickups are an absolute must.
Rolling stock was very limited, and included two Slaters GWR 4 wheel coaches and assorted wagons.
I guess the layout was about 70% - 80% complete when it met its end, and hereby lies an important lesson. It had taken me about 10 years to create, and about 10 minutes to realise that I had no interest in operating a small point to point layout – or probably any layout! The moral of this story is: ‘be very sure you know what you want to achieve from your modelling before you start’!